

How To: Integrate K2 and SAP HANA using an OData service instance
KB003461
PRODUCT
This article describes how to integrate K2 and SAP HANA by using an OData endpoint and the OData Service Type to create SmartObjects that represent SAP data/entities. Once the SmartObjects are created, you can integrate with SAP HANA from workflows, SmartForms, and other components that can interact with K2 SmartObjects.
Prerequisites and Requirements
K2 requirements include:
- K2 Five or K2 Cloud
- A basic understanding of OData, and the OData endpoints Service Type in K2
- Administrative rights to configure new service instances
SAP HANA requirements include:
- SAP HANA
- Column names without periods (.) - change all periods in your column names to underscores
- The following permissions and roles:
- Granted Roles
- sap.hana.admin.roles::Administrator
- sap.hana.ide.roles::CatalogDeveloper
- sap.hana.ide.roles::EditorDeveloper
- sap.hana.xs.ide.roles::CatalogDeveloper
- sap.hana.xs.ide.roles::EditorDeveloper
- Object Privileges
- sap.hana.[yourdatabase::yourtable]
- SELECT
- INSERT
- UPDATE
- DELETE
- sap.hana.[yourdatabase::yourtable]
- Application Privileges
- sap.hana.[yourdatabase]::Admin
- sap.hana.[yourdatabase]::Basic
- sap.hana.[yourdatabase]::Execute
- Granted Roles
- A SAP HANA OData service endpoint URL for your database with /$metadata added at the URL end
Scenario: Using K2 OData service SmartObjects to display data from SAP HANA in a SmartForm
In SAP HANA, create your OData endpoint for a table in your database. In this scenario we use the Products table available in sap.hana.democontent of the SAP HANA Interactive Education (SHINE) trial environment. For more information see Enable SAP HANA Interactive Education (SHINE).
- If you do not already have a SAP HANA SHINE environment, follow the steps below to create one. Note that the steps below describe SAP products and interfaces. The steps may not be accurate for your SAP environment.
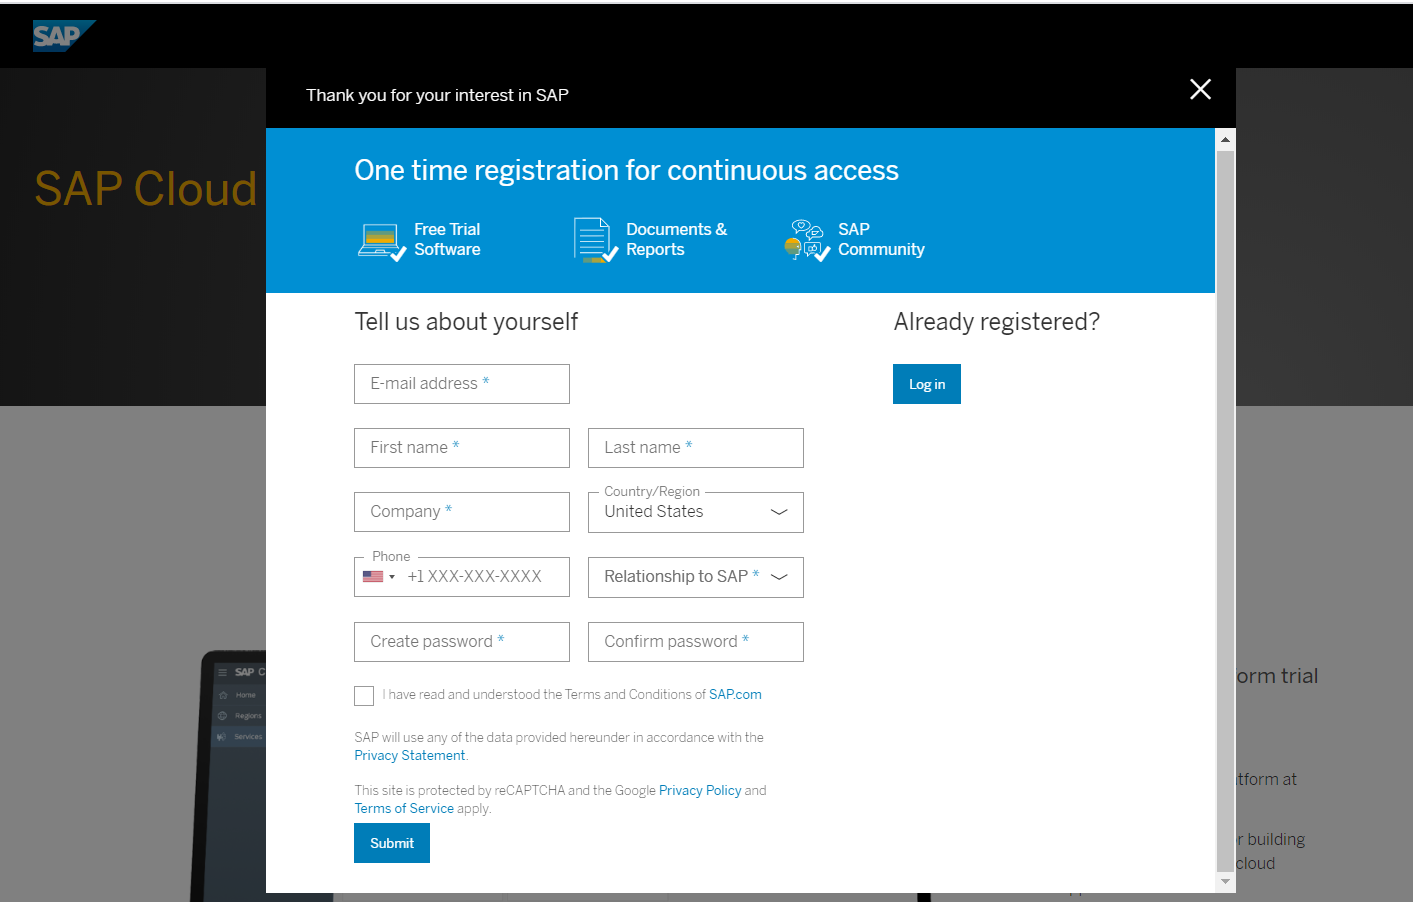
- Go to the SAP Cloud Platform website (https://www.sap.com/sea/products/cloud-platform/get-started.html) and sign up for an enterprise or a trial account
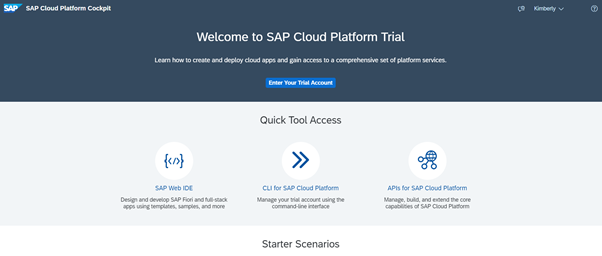
- Logon to the SAP Cloud Platform Cockpit
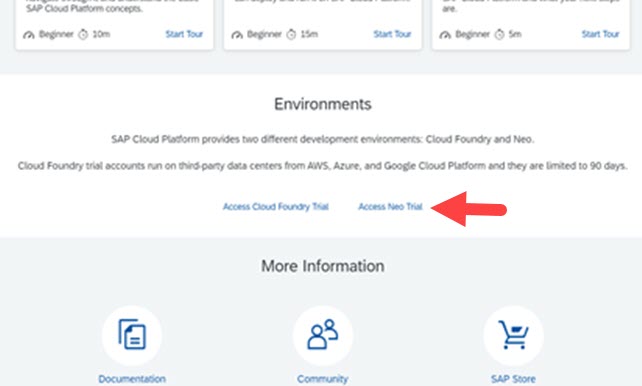
- Scroll down and click on Access Neo Trial under Environments
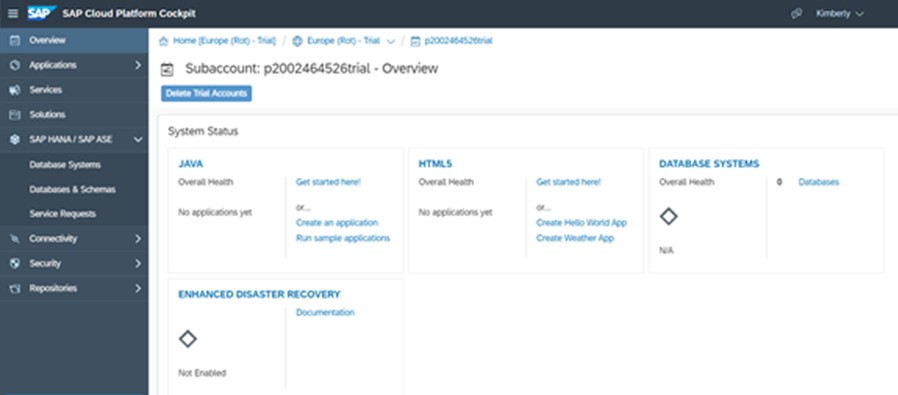
- This brings you to the subaccount page in the Neo environment. In the navigation area, choose SAP HANA / SAP ASE > Databases & Schemas. By default, SHINE is available for all SAP HANA tenant databases in trial accounts in the Neo environment
- Click on New to create a Database. This takes a while, and ensure that the Database is started before continuing with the steps below. Note that the database is automatically deleted after 20 days
- Go to the SAP Cloud Platform website (https://www.sap.com/sea/products/cloud-platform/get-started.html) and sign up for an enterprise or a trial account
- Make sure your user has the correct roles and privileges. See the list in the prerequisites section.
- Change any column names with periods (.) to names with underscores for the sap.hana.democontent.epm.data::MD.Products table .
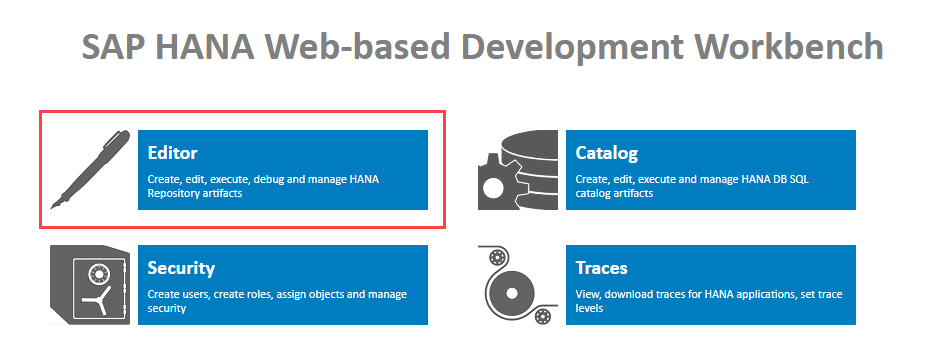
- Navigate to SAP HANA Web-Based Development Workbench and open Editor.
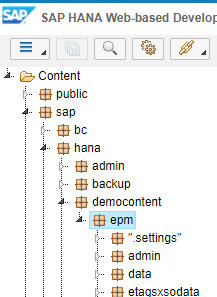
- Navigate to sap > hana > democontent > emp.
- Open .xsaccess and update/add the values as shown in the code box
 {
{
"exposed": true,
"authentication": [{ "method": "LogonTicket" },{ "method" : "Form" }],
"authorization": [ "sap.hana.democontent.epm::Execute" ],
"prevent_xsrf" : false
} - Open .xsprivileges and update/add the values as shown in the code box
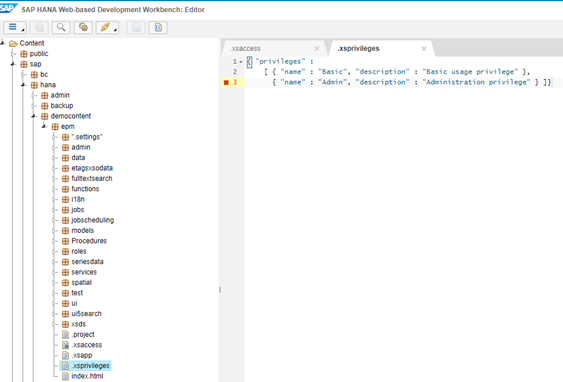 { "privileges" :
[ {"name": "Execute", "description": "Execute"},
{ "name" : "Basic", "description" : "Basic usage privilege" },
{ "name" : "Admin", "description" : "Administration privilege" }
]
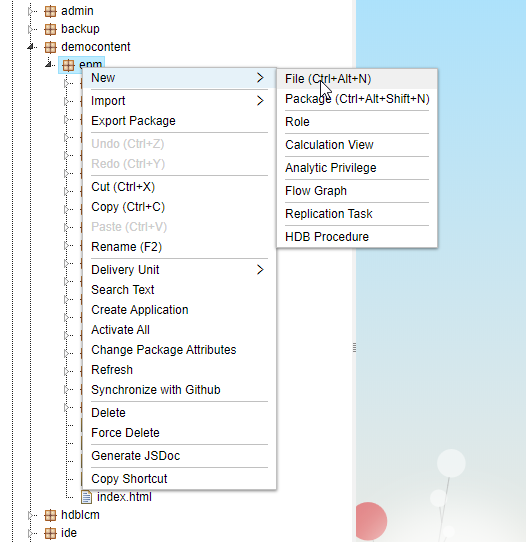
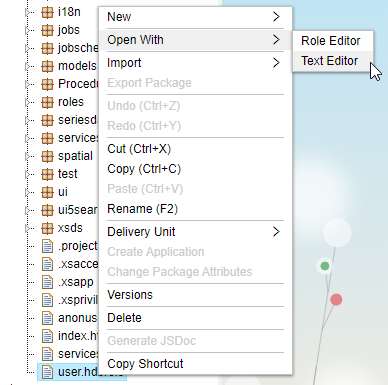
} - Right-click the epm node and select New > File.
- Name the file: user.hdbrole.
- Save the file and close the file editor.
- Right-click and open the file in a Text Editor.
- Replace the file contents in the user.hdbrole file with the values below: role sap.hana.democontent.epm::user {
catalog schema "SAP_HANA_DEMO": CREATE ANY, DROP, INDEX, SELECT, INSERT, UPDATE, DELETE;
application privilege: sap.hana.democontent.epm::Execute;
} - Right-click on edm node and select New > File.
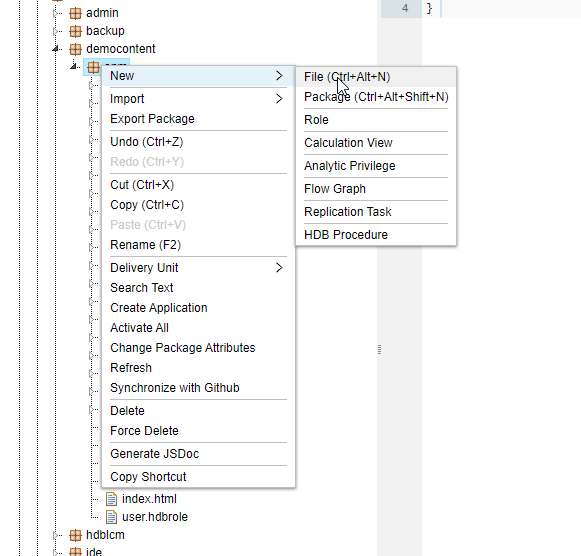
- Name the file: services.xsodata.
- Add the following content: service {
"sap.hana.democontent.epm.data::MD.Products" as "Products" with ("PRODUCTID","CATEGORY");
}NOTE: Use OData Property Projection to return only the properties you need for your OData service endpoint. See OData Property Projection .
Do not limit the OData service by configuring actions as forbidden, unless you intend to limit your SmartObject methods. - Save the file and click Run.
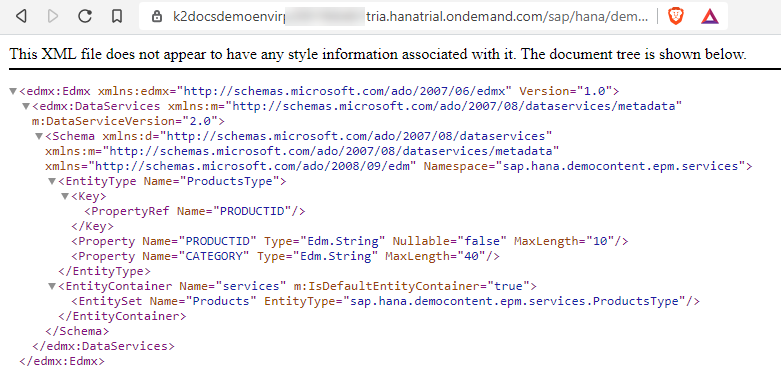
- Your browser opens to the default endpoint for the service: https://[testnnntrial].hanatrial.ondemand.com/sap/hana/democontent/epm/services.xsodata
- Add /$metadata to the URL for the broker, for example: https://[testnnntrial].hanatrial.ondemand.com/sap/hana/democontent/epm/services.xsodata/$metadata. This presents the data from the OData service in the format expected by the K2 OData service type.
In K2 Management, create a new OData service instance and create the SmartObject as follows:
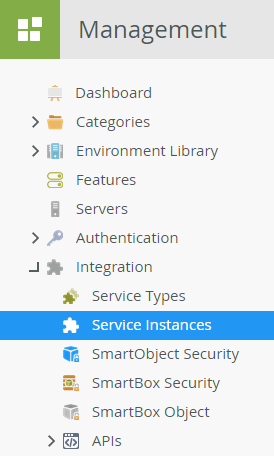
- In K2 Management, navigate to Integration > Service Instances.
- At the top of the list of service instances, click Add.
- Configure a new OData service instance for your SAP HANA integration using the OData service type. Use Static for Service Authentication and specify the SAP HANA user details in the User Name and Password fields. The image below show the values used in this scenario:
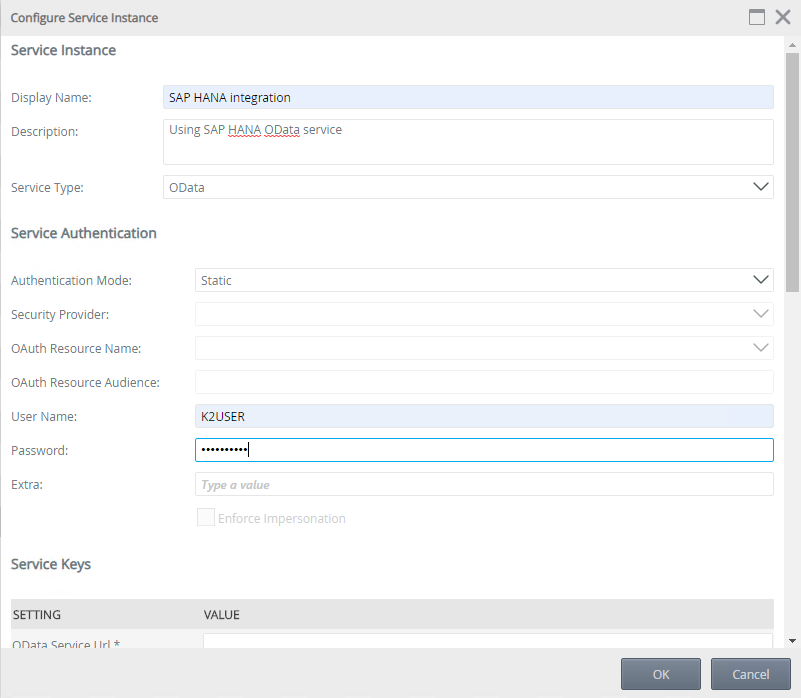
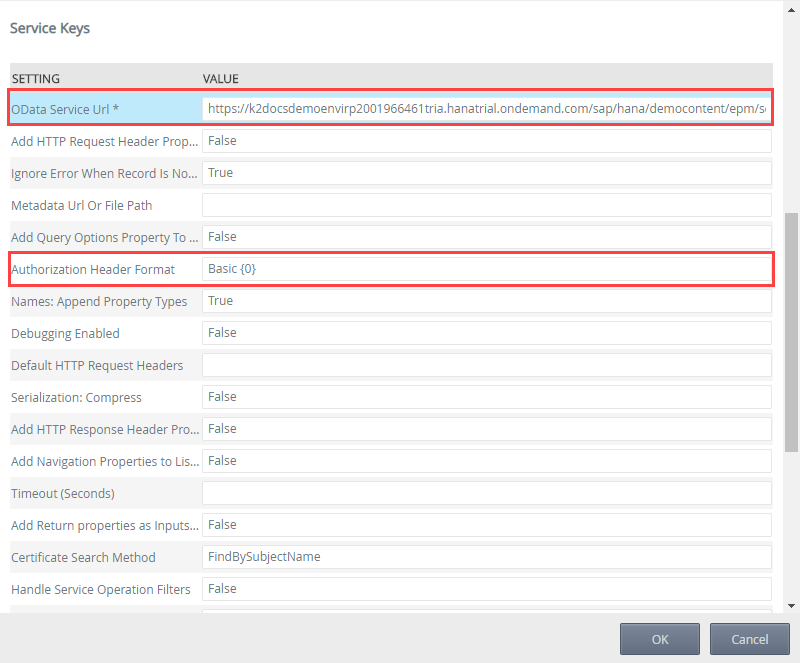
- Copy your SAP HANA OData service URL (with the /$metadata addition) into the OData Service URL.
- Change Authorization Header Format to Basic {0}. This configures the service instance to use Basic Authentication using the static credentials supplied in the Service Authentication fields.
- Click OK.
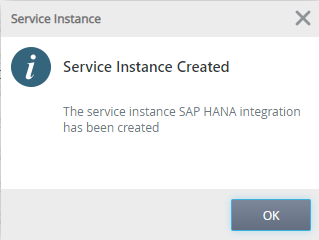
- Click OK to complete the service instance creation.
- Now create the SmartObjects for the Service Instance. You can manually create the SmartObjects in K2 Designer, or auto-generate SmartObjects by selecting your newly created SAP HANA integration service, then click Generate SmartObjects.
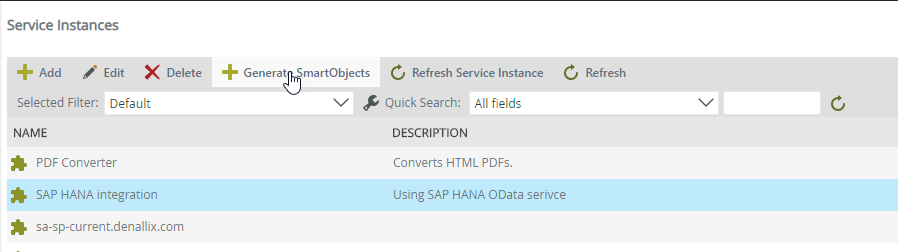
- Check the Select All check box.
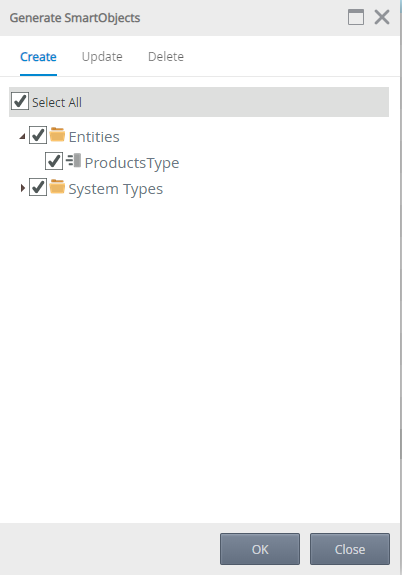
- Click OK.
- Your SAP HANA database Products table is now integrated with a K2 SmartObject and can be used in composite SmartObjects, SmartForms, workflows, and reports.
In K2 Designer, create a K2 smartform to display the data from the Products table in SAP HANA.
- Select View to start creating the SmartForm.

- Specify the following details for the view:
- Name: SAP HANA Products List
- Description: Using SAP HANA OData service
- Category: SAP
- View Type: List View
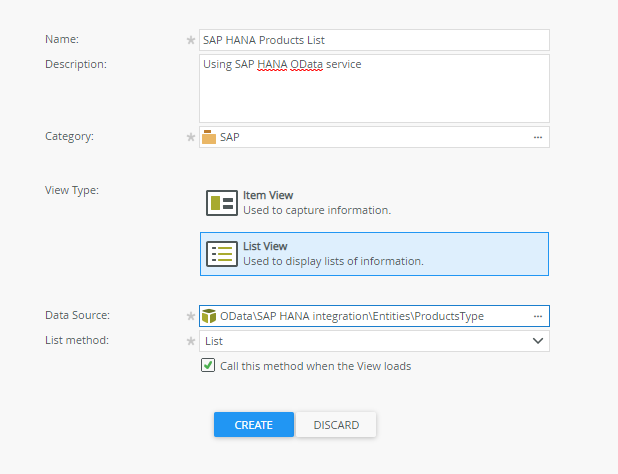
- Select the ProductsType SmartObject from the OData > SAP HANA integration > Entities folder as the Data Source.

- Leave List method as List.
- Click Create.
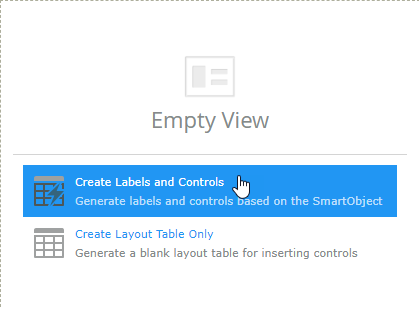
- Click Create Labels and Controls.
- Select PRODUCTID and CATEGORY from the field names.
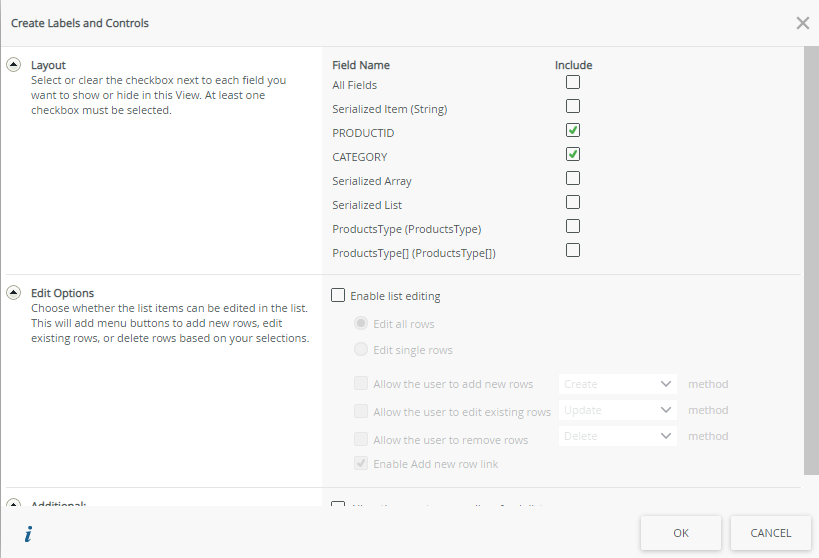
- Click OK.
- On the SAP HANA Products List view page, click Run.
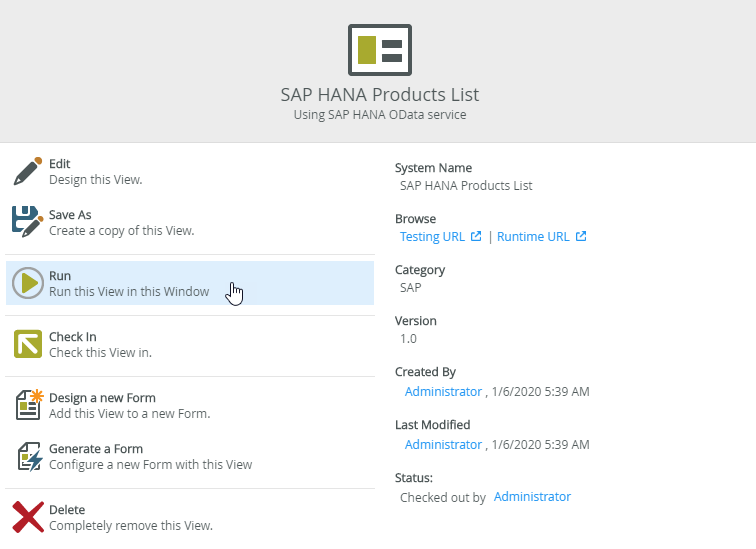
- The view displays the list of product IDs and categories from your SAP table.

- You can now create a Form to host this view to complete the creation of the SmartForm.
Considerations
Unless you expressly want to secure methods in HANA by restricting methods in the SAP HANA configuration, do not limit your SAP HANA OData service actions by forbidding them in your services.xsodata file. For example, remove the highlighted configurations in the following service:
""."Products" as "Products"
create forbidden
update forbidden
delete forbidden
}
